
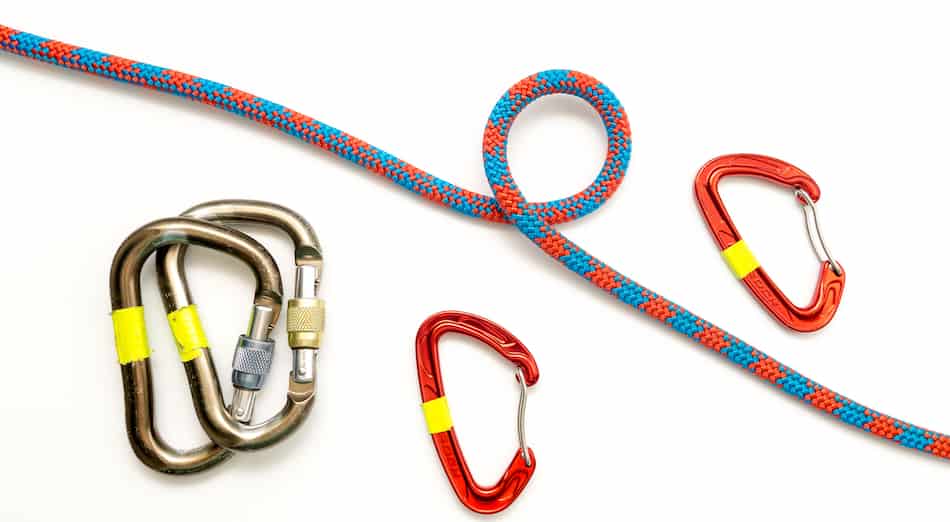
Carabiner rappels are, while still dangerous, the best method of getting down if you don’t have a rope. I did some research to find the safest way to do this, and I’ve created the following guide to help you learn this skill!
The safest way to rappel with a carabiner is to perform what is known as a six-carabiner rappel. This method uses three groups of two ‘biners, arranged in an opposite and opposing manner, to create friction in the system.
A six-carabiner rappel essentially uses carabiners to create a makeshift version of a standard ATC. You use two of the carabiners to attach to your harness belay loop, two carabiners for the rope to pass through, and the final pair of two to create friction within the system. When everything is said and done, it should look like this:
This allows you to create a rappel that will perform very similarly to what you’re used to from your rappelling device. Obviously, it still has its drawbacks, and it’s not as good as using a gri-gri or other similar device, but if you find yourself in a pinch this can be the best method to get down safely. In the rest of this guide I talk about how to set up your six-carabiner rappel, why you might need to use it, and how it’s better than other methods out there. Read on to learn more!
Rappelling with a Carabiner: An Overview

Carabiner rappels are those performed without any formal kind of friction device to help you control the speed of your descent. Instead of using a gri-gri, ATC, or other rappel device, you instead use one or multiple carabiners— and maybe some knots— to create friction. The goal is to arrange the carabiners so that the rope is forced to run through them in a particular way; by doing this, you can control the speed at which your rope passes through the system. This affords you the ability to control your rappel.
You may be asking yourself why anyone would choose to do this. The most common answer is that it’s usually not voluntary. Shit happens while climbing; belay devices get dropped, gear breaks, people find themselves in situations that they don’t want to be in. In these instances, experienced rappeler’s can utilize a carabiner rappel to get down the rope and saved themselves the trouble (and potential cost) of needing to call for help.
With that being said, though, this is definitely an advanced technique, and this guide is only a starting point. Do your research, practice it in a controlled environment, and make sure you know what you’re doing before you attempt this in a real-world scenario.
How to Carabiner Rappel
As with many other things in climbing and rappelling, the setup here is the most important part. If you get this right, your rappel should pass by without a breeze, and you’ll be on the ground before you know it. Miss a step, however, and you can find yourself in serious trouble.
Like I always do, I’m going to advise you to practice this in a controlled environment before you head out into the wilderness. It may seem simple reading it in this guide, but remember: when you’re outdoors, things can be a whole lot more difficult than they initially seemed. Odds are, you won’t be setting this up in ideal conditions. You might be cold, tired from a long day, or rushed because the weather just turned and you need to get down in a hurry. Whatever the reason, the more you practice the setup, the less chance there is that you’ll mess it up when it actually comes time to perform.
So, with that said, what are some of the steps you should be aware of? Here are some things to consider before you even start putting it together:
- Opposite and Opposing: This is the single most important step to keep in mind. In fact, if you’re a climber, caver, canyoner, rappeler, or any other activity that involves ropes, ‘opposite and opposing’ should be one of the mantra’s that you live your life by. Put simply, this means that the gates on the carabiners are facing in opposite directions from each other. This drastically lowers the odds that both of them will accidentally open at the same time. When rappelling with carabiners, every group of two should be opposite and opposing of each other.
- Normal Carabiners are OK, but lockers are better: Normal carabiners actually work fine for a rappel, especially if you use the opposite and opposing method described above. However, if you have locking carabiners, use them! They’ll add that extra little bit of safety.
- Oval shaped is best: Again, this comes down to the luxury of choice. If you only have six carabiners on you, you can’t really afford to get picky. If you have the option, however, it’s best to use oval-shaped carabiners.
- Try to make each pair of carabiners the same size: This will distribute the load of the rope more evenly across each ‘biner and lessen the strain put on any one piece of equipment.
So, those are the criteria you should be using to evaluate your carabiners. Like I said above, you may not always have the option of being picky, but do the best you can.
Once you’ve selected your carabiners, it’s time to actually set up the rappel:
Step One: Clip two carabiners through your belay loop. This is your first pair of carabiners, and they’re what attaches your body to the system. As I said above, make sure they’re arranged in an opposite and opposing manner of each other to prevent the chances of one of them coming undone.
If you’re short of equipment, it’s okay to substitute these two carabiners for one large locker. After all, that’s what most people use to secure themselves to their rappel device anyway, so there’s no reason why you can’t do the same. At the same time, if you’ve got the spare equipment, it never hurts to have a backup.
Step Two: Create the frame of your belay device. Next, take two more carabiners and clip them through the first two (in an opposite and opposing manner). These carabiners are going to be filling in for the ‘body’ of your rappel device; later on, you’re going to thread the rappel rope through them as a way of attaching yourself to it, much the same as you would with an ATC.
Step Three: Thread your rope through the second pair of carabiners. Now it’s time to actually attach yourself to the rope. Again, this step is very similar to what you would do if you were using an actual rappel device. Take the rope you’re going to be abseiling from and create a loop or bight. Next, feed this loop through the second pair of carabiners so that it protrudes from the other end.
Here, it’s important to take note of the direction of the rope. Getting this right can be a little tricky, but your rappel becomes a lot harder if you mess it up. Take the two sets of carabiners attached to your harness and hold them out so they’re parallel to the ground. Next, take the rope and figure out which direction is ‘down’— i.e., which side of the rope is hanging towards the ground.
If you rig the rappel correctly, the rope should be threaded through so that the ‘down’s side of the loop is further away from your body than the ‘up’ side is. Alternatively, you can thread the rope sideways through the carabiners so that the ‘down’ side is facing in whatever direction of brake hand you plan to use.
Step Four: Thread the final pair of carabiners to create friction within the system. With the bight of rope in place, take your last two pair of carabiners and clip them across the carabiner frame so that they’re in between the frame and the bight of rope. They should be looped around your second pair of carabiners in such a way that they block the bight of rope from sliding out of the frame.
This is the part of your system that’s actually going to create friction and make your descent somewhat controllable. When you pull down on the braking side of your rope, it’s going to create friction between the rope, the frame, and the third pair of carabiners. The tighter you pull the rope, the less ability it has to slide through the system; this creates more friction and slows your descent. The less you pull on the rope, the faster you’ll go— just like in a normal rappel.
This is also where you can add or take away carabiners depending on how much friction you want. The more carabiners you add to this third pair, the more control you’re going to have over your descent. If you’re carrying a load with you or simply don’t feel safe, it’s possible to add a couple more carabiners to the system and give you more braking power. Similarly, you have the ability to only use one carabiner if you need to, although I wouldn’t necessarily recommend this; it will make the entire rappel more dangerous.
Step Five: Double check and go for it! Everything is ready now, and you’re in position to start your rappel. As always, do your safety checks before you weight the system. Make sure all of your gates are pointed in opposite directions, your carabiners and flipped in opposing directions, and any lockers you have are actually locked.
Another thing to be aware of is your backup. Especially with a carabiner rappel, where it can be harder to maintain control, backing it up with a prussik or auto-block can be the difference between getting down safely or seriously injuring yourself.
Once you’re confident that everything is in order, perform your rappel as you normally would if you have a standard belay device. The braking motions are going to be the same, although if you’ve never used a carabiner rappel before, you might find that it isn’t as responsive as normal. The system comes with a ton of braking power, but handling it can be more erratic than it would be with a standard rappelling device.
You still pull down to slow yourself and ease up on the angle to go faster, but you’re probably going to find that the correlation between the angle of your rope and the speed of your descent isn’t quite as smooth as it used to be. You may have to loosen up the rappel a lot to get any type of speed, but past a certain point you’ll find yourself going way faster than intended. Be aware of this as you go and make sure you’ve got that backup in place in case you lose control.
Alternate Methods
As I mentioned above, this isn’t the only way to get down a rappel if you happen to find yourself without a device. There are a few other methods, although none of them are as reliable as the six-carabiner rappel. Still, they’re worth mentioning in case you don’t have the necessary gear to perform this one.
What to do if you don’t have six carabiners: Even if you don’t have six carabiners to spare, I would still recommend using a modified version of the above method. Really, you can make it work with only four carabiners: one to attach to your harness (which should preferably be a locker), two to create the frame, and one to create friction within the system. Doing this will be almost as safe, although you won’t have as much control.
Using a Munter Hitch: Usually used to back up belays, the Munter Hitch is a viable option if you somehow find yourself in a scenario where you’ve only got one carabiner. The Munter Hitch essentially involves looping the rope around your carabiner in such a way that you can create friction by pulling it in one direction and decrease friction by pulling it in the other.
Unless absolutely necessary, I wouldn’t recommend using this method for a couple of reasons. Firstly, it will require learning and entirely new knot and braking system, whereas a six-carabiner rappel uses the same setups and mechanics as you’re used to. The more familiar you are with your system, the less chance you’ll make a mistake, and the Munter Hitch removes some of this familiarity.
Secondly, the Munter Hitch can create a lot of kinks and twists in your rope. Especially is you need to perform several rappels in a row, this can make life a lot more difficult and may go a long way in decreasing the life of your gear.
Finally, the Munter Hitch is less safe because it’s harder to back up. Everything relies on the single carabiner, so there’s no backup or failsafe system. Contrast this to the technique described above, where element of the set-up has two carabiners performing the same job; they provide protection should any one piece fail.
Of course, if you only have one carabiner, you don’t have much of a choice but to use the Munter Hitch. If this is the case, I would seriously weigh the pros and cons of performing the rappel before you commit to it.
Alpinist Rappel / Friction Rappel: This is an old technique from back when mountaineering was first becoming an activity. In it, you wrap the rope underneath your body or around your waist and then slowly let out slack, letting the friction created by the rope running across your body to control your descent.
I would not recommend this technique to anyone, under any circumstances. It’s an outdated method that probably never should have existing in the first place; it’s impossible to back up, difficult to execute, and utterly reliant on your ability to keep the rope wrapped around your body. If you ever find yourself in a situation where you think a friction rappel is the only option, don’t. Sit tight and call for help instead.
There we go! That’s all I’ve got on carabiner rappelling. Thanks for reading!