
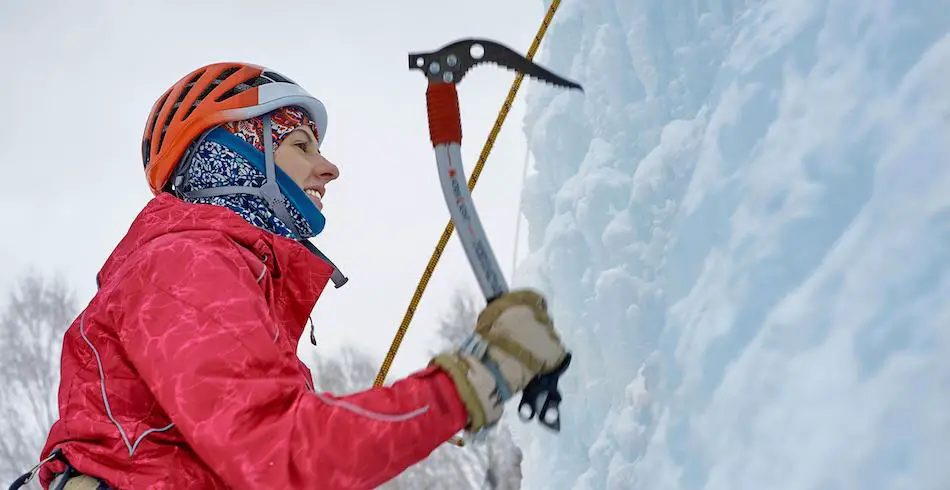
The first couple of times I went ice climbing, I struggled to get the proper layering system down. I’ve written the following guide to help you learn everything you need to know about layering.
Layering is the technique of wearing multiple lighter pieces of clothing instead of one large piece. Layering helps you control your temperature and adjust for when you’re moving versus when you’re standing still.
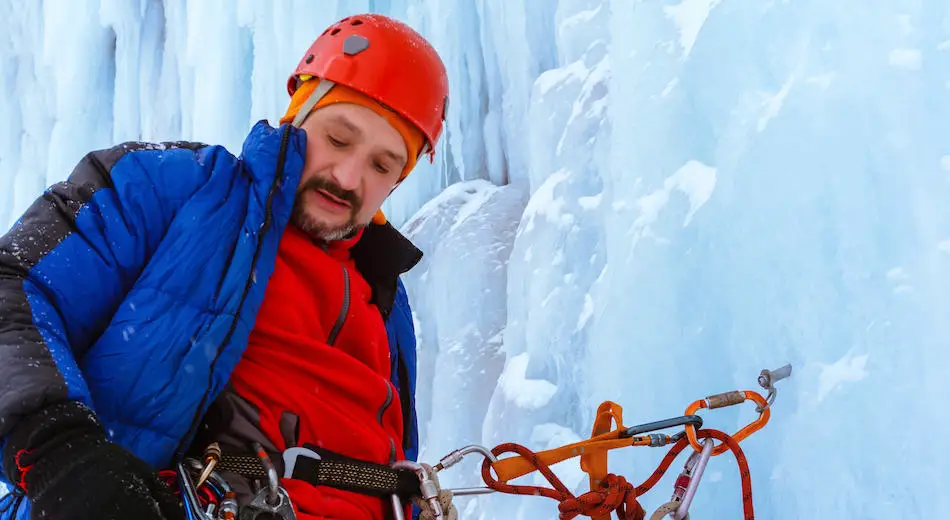
Layering is an essential skill to have for any cold-weather activity. When you’re ice climbing, you have to switch between the high-intensity activity of climbing to the relatively low-insensitivity activity of belaying or standing around waiting for a climb. You want to stay warm in both scenarios; however, when you’re climbing, you don’t want to be so warm that you cause yourself to sweat. Layering helps you find the right insulation level for each activity.
The Importance of Layering
Before we talk about the exactly layering system that you want to use, let’s touch on why layering is so important.
Any time you’re outdoors, you want to keep yourself warm enough so that there’s blood in your extremities and you’re not uncomfortable, but not too warm that you start sweating. Going outside of this range can lead to complications:
- If you get too cold you lose mobility in your digits, which can make ice climbing hard. Furthermore, you may find yourself at risk of frostbite.
- If you get too hot, you’re sweat inside your clothes. This sweat runs the risk of cooling you down too much, leading to some of the issues we discussed above.
To avoid either of those outcomes, you need to keep your internal body temperature around 37 degrees Celsius so that it won’t sweat or shut down your extremities.
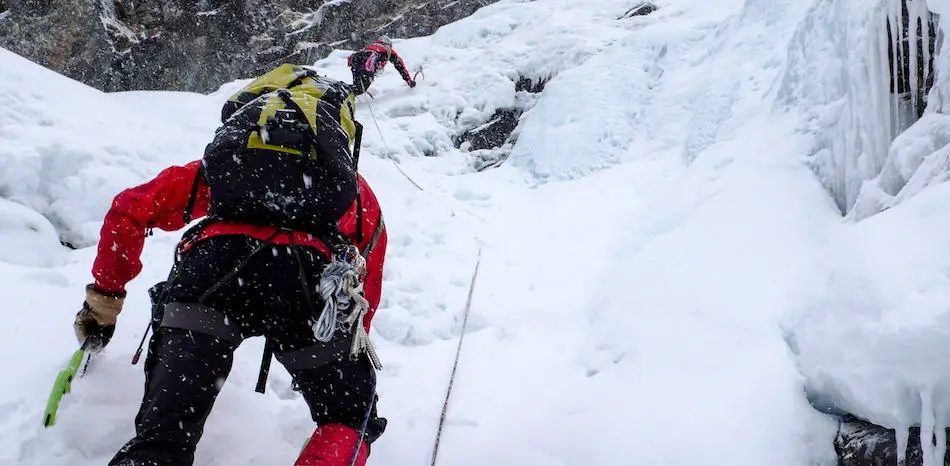
This is difficult in ice climbing because you’re going to be swinging between high intensity exercise (climbing) and low-intensity activities (like belaying). If you dress for the ice climbing, you’ll end up being way too cold when you have to belay. If you dress for the belay, however, you’ll sweat buckets when ice climbing. As soon as you stop moving, this sweat will cool you down even further.
The solution to this problem (as you guessed) is layering. You bring several different pieces of clothing that allow you to stay warm during a variety of activities. When you’re standing around belaying, you put on more layers so that you can stay warm. Once it’s time to climb, you layer down so that your body can release heat and it doesn’t need to sweat as much.
Layering Systems for Ice Climbing
Now that we know what layering is, let’s talk about layering systems for ice climbing. As with most activities, the majority of your insulation variability (that is, the number of layers you take off and put back on throughout the day) is going to come from your upper body. Jackets and sweaters are a lot easier to remove than pants are, especially when you have crampons on your feet.
Getting the right layering system for ice climbing is tricky, for a couple of reasons. First of all, it’s an incredibly strenuous activity that’s performed in freezing cold conditions. This means that you need both a very light layer to climb in and a very warm layer to belay in.
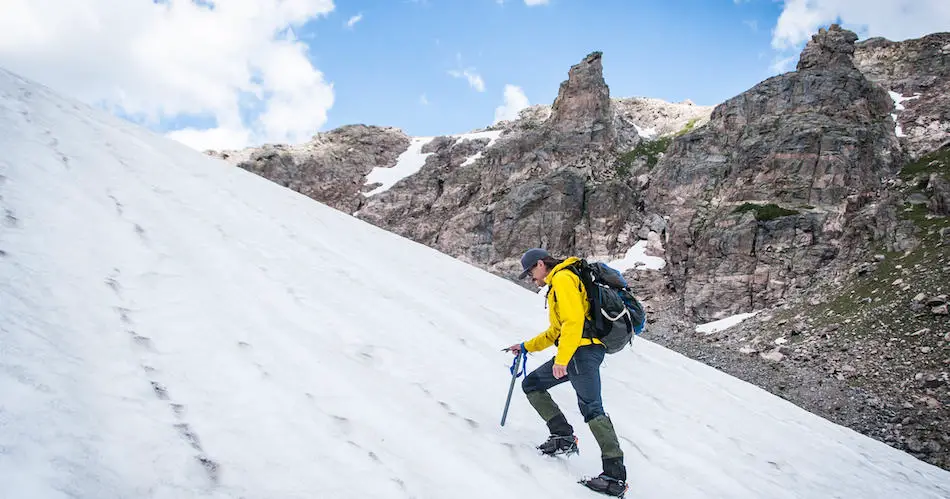
Furthermore, the temperature can (an often will) change throughout the day. Your insulation requirements at 8am when you’re warming up are going to be very different than your insulation requirements at noon, once the sun is up, the air has warmed up, and you’re cranking your way up a WI-5.
Because of this, you sometimes need to bring multiple layers for the same purpose (see below: the ‘active layer’ and the ‘high-active’ layer). This gives you options to swap out pieces of clothing throughout the day as the temperature and conditions change.
Another thing to talk about, before we actually get into the clothing recommendations: the effectiveness of your layering system will be influences by the clothes you wear. High-quality, active insulation pieces will make layering easier and more comfortable. They’ll keep you warmer and expel heat better.
The trade-off, of course, is that these pieces tend to cost more money. I’m not going to tell you that you need to run out and buy a thousand dollars’ worth of Arc’teryx gear. The first time I ever went ice climbing I layered up using mostly old fleeces that I had bought from Walmart. Cheap gear will work, just not as well. In this guide, I try to provide at least one recommendation per category that’s more affordable than the rest, for beginners or those who are on a tighter budget.
A final word before we start: just because you don’t have the layers I’m talking about below doesn’t mean that you won’t be able to go ice climbing. I don’t want to freak anyone out and make them think that they need to run to MEC and drop a bunch of money, or that they can’t go with their friend on a climb because they don’t have a proper insulation layer.
All I’m trying to do here is to create a reference for you to build your own layering system around. If you don’t have the gear, that’s fine! Your insulation layer could be an extra warm fleece or hoodie you throw into your backpack. Your belay jacket could have been purchased at Goodwill (because Goodwill actually sells some really warm jackets). Most people will probably have enough clothes in their closet to make it work; just use the guide below as a reference point and build with what you have.
Upper Body
As mentioned, the upper body is where most of your layering occurs. As you can see below, I actually recommend having 5 different layers with you when you climb. Obviously, you won’t wear all of these all the time; usually you’ll have three or four of them on, while the others will remain in your bag.
Another thing to consider is that some pieces of clothing allow you to combine multiple layers into one. The Patagonia Nano-Storm, for example, can function as both an active layer and a belay layer, depending on the time of day and the conditions. Don’t freak out if you don’t have one specific garment to fit into all of these categories; this list is purely meant to act as a reference point to help build your own layering system.
Base Layer
First and foremost is the base layer. This is the one thing that you’re not going to take off all day. It should be lightweight, uber-comfortable, and preferably quick-dry, because you’re almost certainly going to sweat in it.
I personally prefer to wear a t-shirt for this layer, although I know others will want to go with a long-sleeve shirt or even a very lightweight crewneck sweater. What you decide to wear mostly comes down to person preference and temperature requirements.
Essentially, this layer is just meant to be comfortable and not get in the way of other layers. For extreme cold weather, some people might want to wear an insulating base layer, but I prefer not too because I find it too hot. Plus, you’re going to put 4 insulating layers on top of this one.
Recommendations:
- Personally, I believe the Patagonia Capilene Cool to be the most comfortable t-shirt ever designed, and I would highly recommend it.
- Otherwise, any workout shirt, hiking shirt, or breathable material will work here
- If you want insulation, I would recommend the UnderArmour ColdGear Base 3.0
Secondary Base Layer / High Activity Layer
Next comes your secondary base layer, or your high activity layer. This is usually a lightweight fleece that you wear over your base.
In the morning or in cold temperatures, it acts as a secondary base layer to trap heat and keep your core nice and warm. However, later in the day when it starts to warm up, you can use this as your climbing layer to avoid getting too warm.
For this layer, you want something that’s lightweight and warm. It should be comfortable enough to wear for hours on end and thin enough that you can wear 2-3 jackets overtop of it, without it getting in the way. If you have garments with active insulation, they would be perfect for this purpose.
Recommendations:
- The Patagonia R1 is the name in high-activity, high-warmth fleeces. There’s no product out there that can compare.
- The Mountain Hardwear Type 2 Fun is a more affordable option that won’t be as breathable.
- The MEC Rockwall is a good option for people looking to save a few bucks
Active Layer
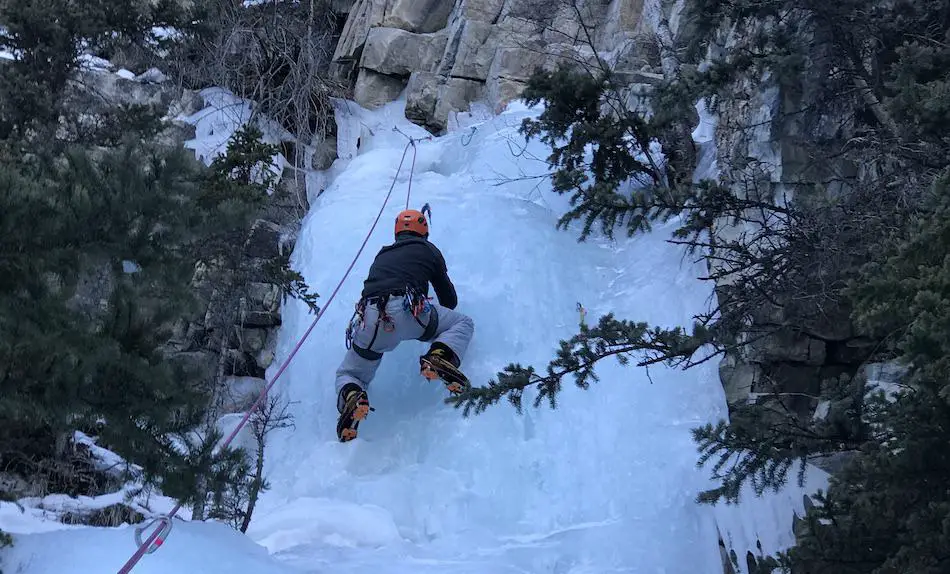
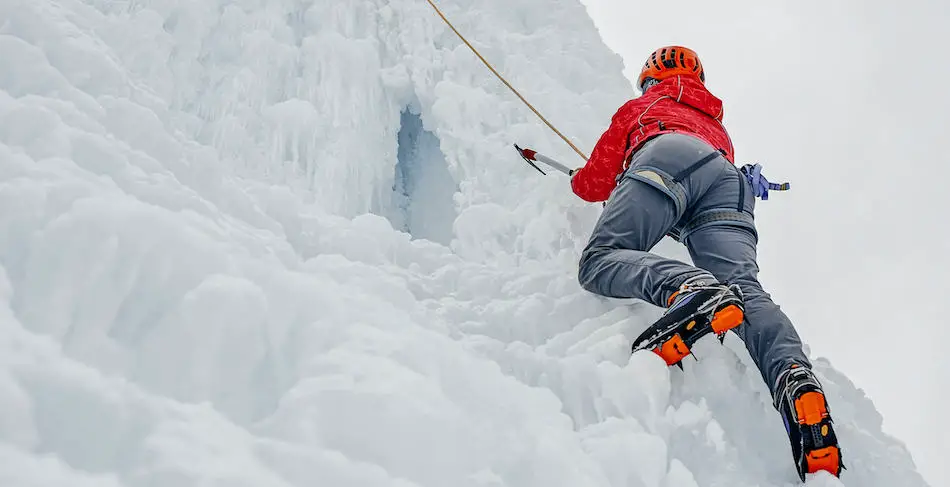
The active layer is the bread and butter of and good layering system. This is what you’re going to wear when you’re climbing, and it’s also what you’re going to depend upon to keep you warm when you’re belaying. Having a good active layer can make or break your thermo-regulation for the day.
Active layers are probably the most important part of any layering system, because they need to be able to dump heat when you’re climbing and then trap heat in when you’re not moving. Outdoor gear companies have poured millions of dollars into designing good active layers because of how important they are to alpinists and ice climbers.
For your active layer, you want a heavy fleece or lightweight down jacket that’s well-fitted and not too baggy, as this will stop if from getting in the way while climbing. You’ll want the outside to be water-and-abrasion resistant, so that it doesn’t get soaked in the ice or tear when you catch it against rock. If you have a garment with a hood it can be a good idea to wear that.
There are so many options to choose from when it comes to active layers, but my recommendations include:
- The Arc’teryx Proton is currently the king of active layers
- The Patagonia Nano-Air is a close second
- The RAB Xenon is a cheaper option that’s more wind resistant but doesn’t breathe as well
- For those who don’t want to buy an expensive jacket, see if you can remove the liner from a ski jacket. That will function perfectly well as your active layer.
Belay Layer
Your belay layer is what you slip on to keep you warm once you’ve finished climbing. It’s a jacket that should be insulated, comfortable, and preferably waterproof. You want this layer to be easy to take on and off; it should be fairly loose-fitting so that you can simply slide it over your other layers. If you can, pick a jacket that has a good so that you can bring it over your helmet when the weather gets cold or snowy.
Really, there isn’t too much to say about a belay layer other than that. It needs to be a well-insulated jacket that you can wear when you’re not moving and not be cold.
Recommendations:
- The Patagonia Grade VII Down Parka is maybe the best piece of outdoor gear ever made. It’s insanely warm, relatively lightweight, and fits perfectly over your other layers.
- The Black Diamond Belay Parka isn’t as warm, but it’ll work perfectly well as a more affordable option.
- The Marmot Guides Down is an ultra-warm, affordable option.
- Again, any ski or winter jacket you have will do the trick if you don’t want to buy something new.
Insulation Layer
Finally, we arrive at the insulation layer.
This layer isn’t completely necessary, but it’s one that I would recommend. Your insulation layer is essentially just a backup jacket for you to bring if it ends up being colder than expected. When you’re out in the open air in the middle of winter for ten straight hours, it can never hurt to carry an extra layer with you.
The name of the game with insulation layers is to maximize warmth while minimizing weight. You want something that you can stuff in the bottom of your bag or clip to your harness and not have to think about for the rest of the day. Then, when you get caught in an exposed belay where the wind is howling and your hands are starting to go numb, you can whip it out and throw it on without needing to think.
Having an insulation layer isn’t essential, but I would recommend it for multi-pitches or extra cold days.
Recommendations:
- The Patagonia Macro-Puff has one of the best warmth-to-weight ratios out there
- The Arc’teryx Cerium or the Outdoor Research Helium are also good contenders
- As a more affordable option, the RAB Micro-Light will serve you well
Lower Body
Now that we’ve worked our way through the five layers on your upper body, it’s time to start touching on the other pieces of clothing that you’ll be wearing.
First, we’re going to cover the lower body. Layering here is tricky, because this is probably the area where you have the least adjustability. Taking your pants on and off is an absolute pain with mountaineering boots, so you don’t have much chance to adjust throughout the day. That means you want to get it right the first time. It also means you need to have a good upper body layering system, because that’s where the majority of your temperature regulation is going to be happening.
There are two layers that you have to wear for lower body layering (base and outer) and one optional one that I’m going to touch on briefly (the inactive layer). Between your base and your outer layer, you can sometimes afford to make a trade off: the heavier one is, the lighter the other can be. Personally, I have a fairly thin pair of snow pants, so I wear a heavier base layer to compensate. People with a good pair of alpine pants, however, may want to go in the other direction.
Base Layer
As with the upper body, your base layer is the one that you put on first (right after your boxers and socks) and wear all day. Again, comfort and breathability, and fit are the three things that you want to have going for you. These pants should be tight-fitting so that you can slide other layers over top of them, but not so tight that they impede your movement or bother you throughout the day. You also want something that quick-dried, because you’re going to be sweating.
If you have a base layer for skiing, I would recommend wearing them here (that’s what I do). If not, a pair of regular sweatpants will work decently well, although I would recommend picking up something a little more specialized if you plan to stick with the sport. Avoid denim or similar products; they’re way too bulky and not flexible enough to work.
There are so many options out there that I’m not going to both offering specific recommendations. Merino Wool, Helly Hansen, and UnderArmour all make good base layers that will serve you well for ice climbing.
Outer Layer
Next you have your outdoor layer. These need to be a waterproof, insulated, and durable pair of pants that can fit over your insulated layer.
Essentially, you want to wear snow pants. These will keep you dry while you’re climbing, belaying, and sitting around on snowy terrain. They’ll also serve to keep you warm throughout the day.
When it comes to ice climbing, there are two main categories of pants to wear. Some people have dedicated alpine pants that they bring with them when they go. These are specialized, lighter, and more form-fitting, which means that they geet in the way less. However, they often tend to have less insulation, meaning you might need to beef up your base layer a bit to compensate. The other group just wears regular snow pants, like the type you would bring skiing. These are warm, but will be bulkier and less mobile (also, be prepared to tear the cuffs on them).
Either one works. The first few times I went ice climbing, I wore a pair of my dad’s 20-year-old ski pants, and they worked perfectly fine.
Recommendations include:
- The Outdoor Research Cirque’s are renowned as the perfect ice climbing pant
- The Helly Hansen Force Pant are a good but less specialized option
Inactive Layer
Finally, we arrive at the inactive layer. As I said, this is an optional layer that few except the most serious ice climbers will bother with, but it’s still worth mentioning.
Essentially, this layer serves the same purpose as the insulation layer does for your upper body. If you’re faced with unexpectedly cold conditions or a long period of inactivity, these pants exist to be thrown on over your existing layers to give you a little bit extra insulation.
These will be usually be specialized down pants. You want them to be lightweight, packable, and warm. If it’s your first time ice climbing and you want to bring a ‘just in case’ layer, I would recommend a bulky pair of sweatpants that you can slide on over your snow pants for a little bit of added warmth.
My recommendations include:
- The Black Diamond Stance Belay Pants are a great, affordable option that provide excellent warmth.
- The Feathered Friends Helios Down Pants are warmer but heavier
Feet
Keeping your feet warm is one of the most important things you can do while ice climbing. Cold toes lead to bad footwork, which can end up causing a fall. You want to make sure you have the right layers on your feet.
Socks
There’s no clear answer as to what socks to wear ice climbing. Some people prefer technical ski and alpine socks; others want normal hiking socks purchased from Target.
There are, however, some pointers I can give:
- Avoid cotton, as it loses its insulation ability once it gets sweaty (and trust me, your feet are going to sweat)
- Avoid extra bulky socks, because they can cut off the circulation to your feet and actually cause them to be colder.
Other than that, I would honestly say go with whatever is comfortable. I’ve ice climbed in both hiking socks and ski socks and didn’t notice a massive difference in warmth or comfort, so find what works for you. Double layering is OK as long as it doesn’t bulk up your foot too much.
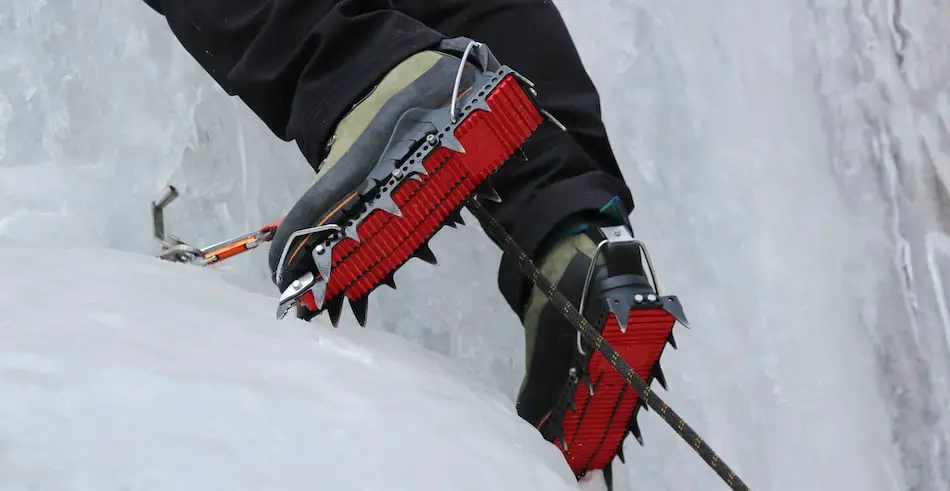
Boots
When ice climbing, you either want to wear mountaineering boots or ski boots. Mountaineering boots will give you better footwork, but ski boots can end up being warmer and doing less damage to your toes.
There’s also the matter of double-layered boots for mountaineering. Double-layer boots are warmer, and people who hate cold feet might want to consider picking up a pair. However, they’re also going to be heavier, and for shoulder-season climbing it may end up being too much insulation.
Hands
Finally, we arrive at your hands. These are important because you need to be able to grip your ice axes and catch your climbing partner should they ever fall. I recommend having one pair of gloves for each purpose: A lightweight pair to climb in, and a more heavy-duty pair that you slip on overtop to belay with.
Climbing Gloves
You want these to be thin and well-fitted to your hands, because loose-fitting gloves will slide around when weights. You want enough insulation to keep you warm, while still keeping the gloves thin enough so that you can feel your axes and continue to make good placements.
Belay Mittens
Finally, we arrive at belay mittens. You want these to be as warm as possible, while still giving you enough sensitivity to feel the rope and belay well. They should be large enough to fit over other gloves. Wide cuffs that can fit over your jacket to prevent snow from getting in is another plus.