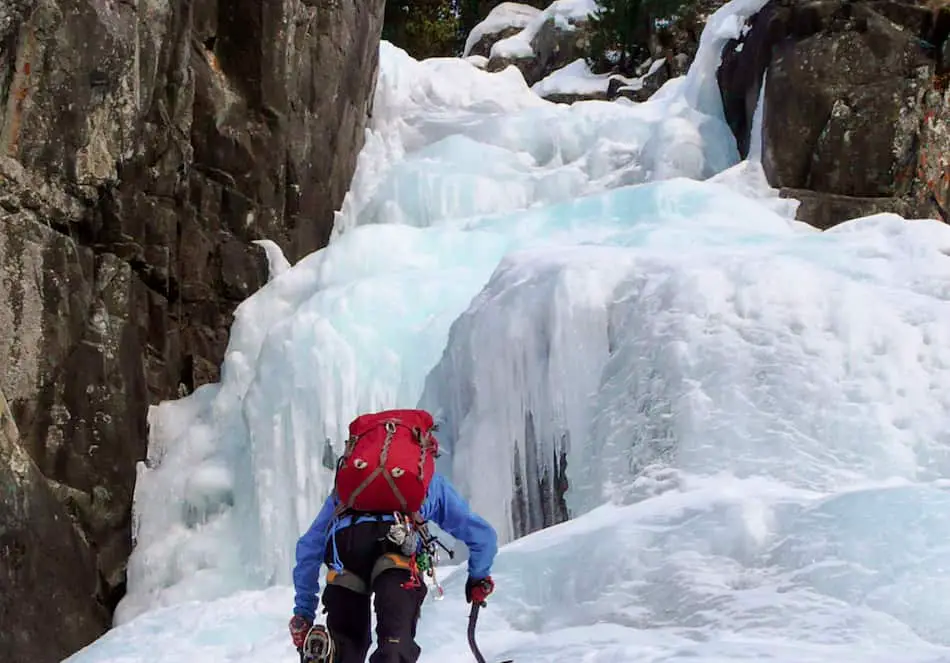
There are a lot of different terminologies while ice climbing. I’ve created the following guide to describe this specific ice climbing technique.
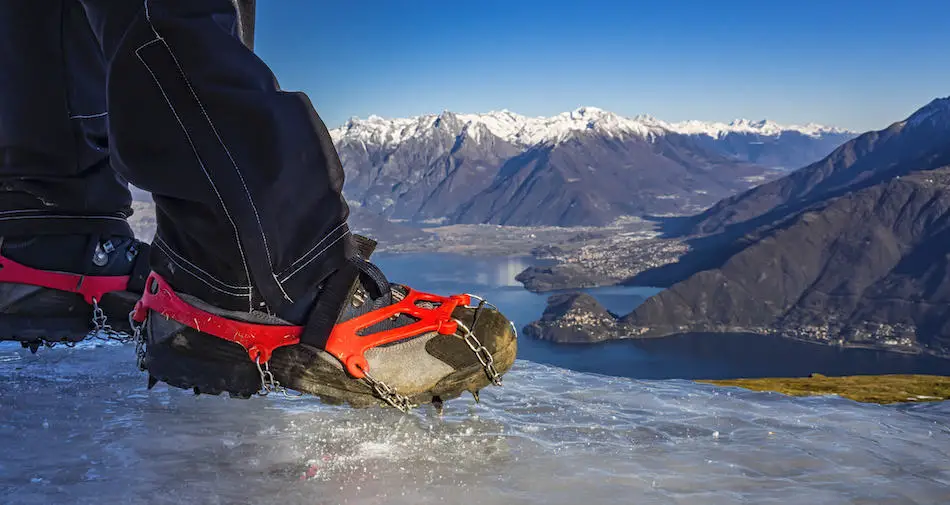
So, what is the French technique when ice climbing? The French technique refers to walking flat-footed on the ice so that all points of your crampons are touching. This is opposed to front-pointing, where only the tips of your crampons are in contact with the ice.
The French technique is most common on low-angle ice, where it’s possible for climbers to keep all of their crampon points attached at once. This allows for all points of the crampons to be engaged and creates better traction with the ice. Additionally, the French technique can be less tiring than other techniques, such as front pointing. The main issue with the French technique arises when the slope gets too steep for ice climbers to walk flat-footed on.
French Technique When Ice Climbing
As I said above, the French technique is a method in which the climber keeps their crampons flat against the ice so that all points are engaged. It’s essentially just walking normally on the ice, letting the full length of your foot come in contact with the surface.
The French technique is most common on low-angled ice (less than 55 degrees), although experienced climbers can use it on slopes approaching 70 degrees as long as they have the proper technique. However, it takes a long time to reach this level of skill; until you do, the French technique should be practiced in safe environments, e.g. either on top rope or snow slopes where falling would be okay. Do not attempt this technique on ice until you are confident in your abilities.
For low-angle slopes, the French technique is hardly even a technique; it’s more akin got just walking normally. As the slope begins to increase, however, it becomes important to take your time and be careful with your steps so that you don’t find yourself sliding downwards.
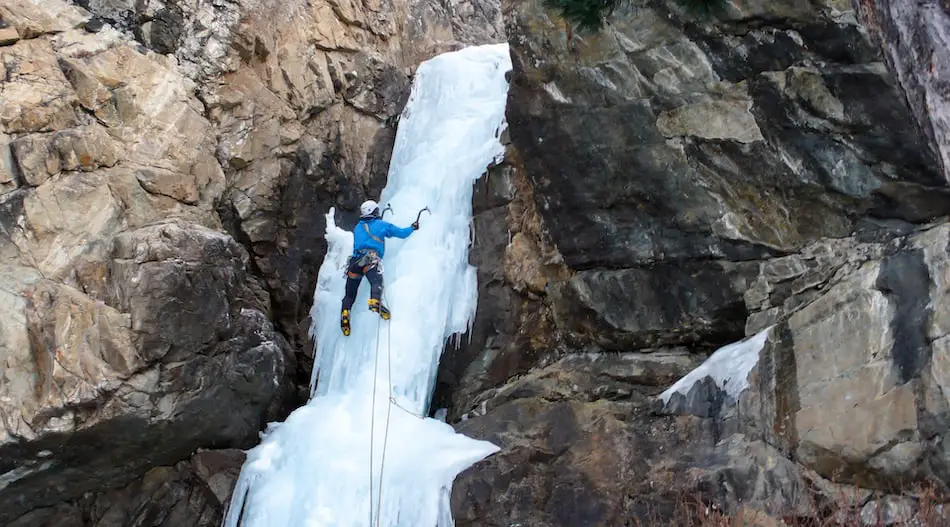
Another major component of proper French technique is knowing how to use your ice axe. On lower-angle ice, your axe should be held to one side as a third point of balance, and you should do everything possible to stand up straight (don’t lean into the wall).
As the surface becomes steeper, however, your axe can be used to drive into the ice in front of you to create a sort of temporary handhold. You can place the ice axe, use it for support, while you move your feet to a higher position, and then —once your feet are stabilized again— move the ice axe higher, before repeating the motion.
Advantages of the French Technique
The French technique, while not applicable in every scenario, has some strengths to it:
- The French Technique is less tiring: One of the major advantages to standing flat-footed is that you take the pressure off of your calves. This can be a lifesaver when ice climbing, as anyone who’s done the sport knows how tiring it is to be front pointing all day.
- Your feet will be more secure: Having all ten of your crampon points in the ice at a time means more traction and less chance that your feet slip out from under you. Whether you’re catching your breath or trying to place an ice screw, using the French technique can help you achieve a stable position.
- It’s quicker on low-angle ice: For slopes that are less than 55 degrees in steepness, walking with a French Technique is going to be less time consuming than trying to kick-step your way up the slope.
- French Techniquing is a more natural movement: Similar to the point above, the French technique is going to be far easier and feel far more natural on low angle ice than trying to front point.
Disadvantages of the French Technique
While it does have some advantages, the French technique while ice climbing also comes with some downsides that you need to be aware of:
- You’re limited in where you can go: Experienced users of this technique can make it work on slopes up to 70 degrees. However, that still leaves a lot of ice climbing on steeper terrain that you’re unable to perform. Eventually, you’ll need to learn to kick step.
- It becomes slower on steeper terrain: Contrary to the point above, the French technique becomes less natural feeling and much slower as the terrain gets steeper.
- It can lull you into complacency: In this article, I talk about how there’s no such thing as ‘easy ice’ and how even shallow terrain needs to be taken seriously. French Techniquing feels like you’re just going for a walk, which can make it harder to focus seriously on not taking a fall.
- On steep ice, your feet don’t stick as well: You don’t have the force in your step to drive all ten crampon points into the ice with conviction. On steep terrain where gravity is working against you, getting a good stick with your two front points will keep you in place better than standing flat-footed will.
When You should use the French technique
So, all in all, it’s clear that the French technique has some trade-offs to it. I would definitely say that there are circumstances in which you should use it, and some circumstances where it doesn’t make sense. We’re not in the 1800’s anymore, and you don’t need to stick to one method of ice climbing because of nationalistic pride. Switch between different styles depending on what you think is best for the circumstances.
With that being said, what are some places when you should use the French Technique?
On low angle ice
This is the simplest and most obvious answer to the above question. On low-angled slopes, the French Technique will allow you to move around easily and quickly compared to front pointing. It will feel more natural, tire you out less, and allow you to cover ground with more speed.
The optimal ice angle for this technique is probably in the 40-55 degree range. Any steeper than that and you’ll need to start using some advanced techniques (discussed below) to keep all of your crampons down at the same time. Once you reach that point, it probably makes more sense to just switch to a different method.
When you need a rest
As discussed above, the French technique puts a lot less strain on your calves, which tend to become sore after a long day of front pointing. If you’re in need to a break, or you feel that your legs are too weak to continue, switching to this method can allow you to keep going without needing to stop.
When placing ice screws
This one is something that the American Alpine Institute recommends doing. If you’re placing an ice screw, you want your feet to be as solid as possible. Any time you can, find a place where all of your crampon points are touching the ice and use it as a chance to get some energy back.
NOTE: While this a good tip, do not sacrifice a good front-point placement for a mediocre French technique placement. If getting your entire crampon flat on the ice feels unsteady, don’t do it!
What to do when the ice gets too steep
The French technique has one very obvious drawback: eventually, the ice becomes too steep for it to be possible, because the human ankle can only bend so far.
French climbers, due to either sheer stubbornness or a lack of other methods, solved this by changing the way they place their feet so that they could keep all of their crampon points down as the slope increases.
The first method, which works on ice around 45-60 degrees, is to walk ‘duck-footed’. Spread your toes outwards and turn your heels down to decrease the pressure that’s placed on your ankle. This will make walking a little awkward, but will prevent you from having to front-point.
The next method is to do a crossover step. You stand completely perpendicular to the slope, with your feet pointed sideways. Instead of trying to walk upwards, you instead walk sideways, crossing your feet over each other and then un-crossing them to move upwards. This is what allows some climbers to ascend 70-degree snow slopes with the French technique.
Alternate Techniques
So, if the French Technique doesn’t work well in every scenario, what can you use as an alternative?
German Technique
The German technique is what’s commonly referred to as front-pointing. You drive the points of your crampons into the slope with your feet facing forwards and then stand up on them, using your calve muscles to keep you in place.
This method works better on steep ice but is less effective on shallow slopes, where it will be tiring and awkward. Knowing when to switch between French and German footwork is a good skill to have.
American
For those who love a compromise, the American technique combines the better traction of front-pointing with the decreased strain of French steps. When on a moderately steep slope (think 60-70 degrees), the climber stands with the forward foot in a German stance and their back foot in a French one. You then front-point up with one leg and follow with the other turned outwards in a French technique stance.
This allows you to front point on steep ice, while keeping your back leg steady and rested. When you get tired, you can swap legs and let the back one take over for a little bit, allowing your calves to rest while still enjoying the benefits or front-pointing.
Conclusion
So, there we go! That’s everything I have about the French Technique while ice climbing. Thanks for reading!
Remember, this guide is simply meant to inform and entertain. I’m not offering any advice, nor am I certified to teach you how to use these techniques. Do your own research and seek expert help before you try this out on real ice.