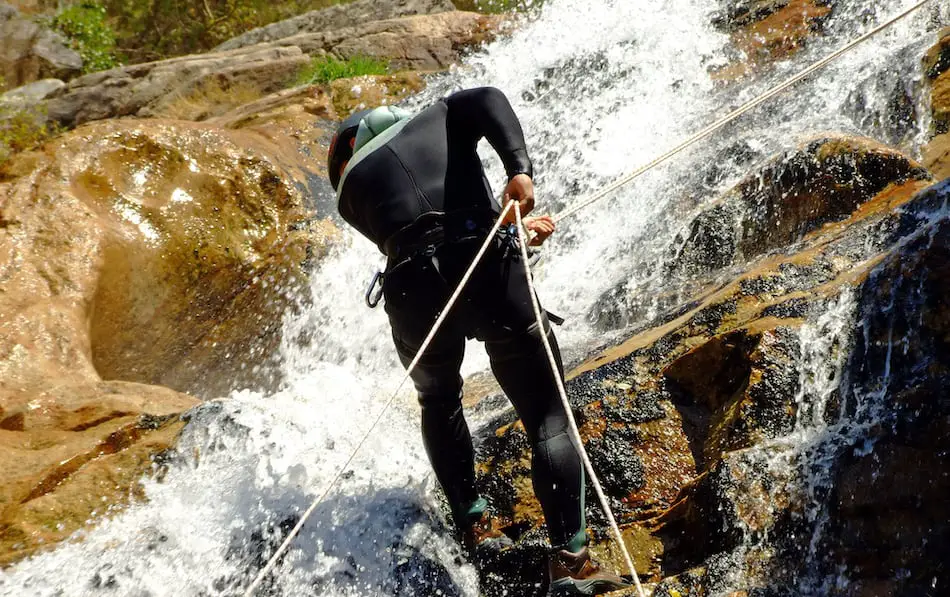
Rappelling with two ropes can save you a lot of time while climbing. Based on what’s online and my own personal experience, I made this guide to help you out!
They key to rappelling with two ropes is to join them at the top with a sturdy knot— usually a flat overhand— that will hold the ropes together and prevent them from slipping through the rappel anchors. Once you’ve achieved this setup, you can either rappel off of both ropes (a two-rope rappel) or off of only one of them (a single-rope rappel with a tagline setup).
A two-rope rappel is one in which you tie the ropes together and then treat it as you would a standard two-strand rappel performed on a single rope. You thread both ropes through your belay device and them lower yourself down. Once you’ve reached the bottom, you pull on either side of the rope (if your overhand knot slides between the anchors) or the same side as the knot is (if it’s a larger knot that sits against the anchors, without passing through).
For the tagline method, you use one normal-sized rappelling rope and one thinner rope (the tagline). The important thing here to note is that you should never put your bodyweight on the tagline. Instead, use the larger rope to perform a single-strand rappel. Once you’ve reached the bottom, your tagline can be used to retrieve the ropes so you can begin your next rappel.
In the guide below I talk a little bit about why you would want to perform a two-rope rappel, before breaking each down in a little more detail.
Two Rope Rappels: A Basic Overview

So, what is a two-rope rappel? A two-rope rappel is a standard rappel that you perform, but with two strands of rope that are joined together with a knot. In other words, it’s just a normal rappel, except there’s more than one rope involved.
The main use of such a rappel is that it doubles the distance you can rappel with each set-up; this can save you time if you’re descending a multi-pitch, or it could be the difference between being able to repeat a rappel or getting stuck at the top of a route.
To make this a little easier to understand, let’s break it down with some numbers. Say you’re climbing with a standard 60-meter rope on a 6-pitch route where each pitch is 30 metres long. There’s no trail leading down from the anchors, so your only choice once topping out is to rappel back down.
To rappel with the one rope, you’ll need to turn it into a two-strand rappel; this means folding your rope in half so you can pass it through the anchors and retrieve it later. Mathematically, you’ve only got 30 meters of vertical rope with which you can work with, because you folded the 60-meter rope in half. If your 60-meter rope is all you’ve got, you have no option but to perform 6 individual rappels.
If you have another rope of equal or greater length, however, you just cut the number of rappels needed to perform in half. With two 60 metre ropes, you can skip every other set of anchors and get yourself down much faster. Now, this might not seem like a huge deal, but it can actually be a lifesaver in terms of time and safety. A surprising majority of climbing accidents happen while people are rappelling, because people become lazy and complacent on the way down. They forgot to tie their stopper knots, ignore their backup, or make some other rookie mistake that leads to a fall. The fewer times you need to set up a rappel, the fewer chances you have to make one of these mistakes, and the safer you’ll be.
A word of caution: it’s not every route that you can skip every other set of anchors. There could be large degrees of lateral movement involved, or a pitch that’s longer than thirty meters. Make sure to consult your topo before you commit to skipping anchors.
So, now that we’ve got a general overview of two-rope rappelling and why you might want to do it, let’s look more in depth at the two techniques you can use to make it work:
Two-Rope Rappels: Dual Rope Method

This method is what I call it when you have two ropes of equal diameter. This allows you to tie them together and use both of them simultaneously on your rappel.
The important thing to note here: both ropes must be capable of supporting a rappelling independently. This means if I were to remove the other rope and ask you to simple perform a one-rope rappel, you should be able to do so and be completely confident in the rope you’re using (for more info, click here to find my official guide on what rope to use while rappelling). If one of the ropes is significantly smaller than the other, damaged in some way, or just not safe to rappel from, do not use this kind of system. Skip ahead to where I talk about tagline rappelling.
If both ropes are of equal or similar diameter, though, and you would feel comfortable rappelling with either of them independently, this method can be a great option for you. The method of rappelling is going to be exactly the same as if you had a two strand rappel; the only difference comes in the setup, when you need to tie both ropes together.
Tying the ropes together is the most important step in the process. If you get this wrong, you risk the knot coming undone while you’re still on the rappel— and if that happens, you’re going to fall from whatever height you were rappelling at. Because the knot is joining the two ropes together, it needs to be absolutely bomber.
The American Alpine Association recommends using a flat overhand knot to join your ropes together, with tails from each rope of at least 10 inches (20cm) long (but push it to 12 inches / 30 cm just to be safe). This type of knot is good for a couple of reasons.
First, as the name suggests, it’s flat on one side; you can lay it against a piece of rock and not have to worry about it catching on a sharp ledge. Secondly, it’s easy to back up, especially if you tie long tails. A simple overhand knot tied into each tail and pressed right up against the primary knot will stop any loosening and go a long way in comforting you that your knot is secure.
Another option is the double fisherman’s knot. This knot is almost universally recognized to be absolutely bomber, and it is slimmer than the flat overhand, so there’s less chance of it getting stuck in the anchors. Again, you can back this one up by tying overhand knots on each tail.
The one disadvantage I find in using the double fisherman’s is that it’s harder to untie; if you put a lot of weight on the rope, the two sides of the knot get incredibly tight, almost as if they’re fused together. On one hand, it’s comforting to know you’ve got a secure rappel. On the other, this can be a pain in the ass when you’re trying to separate them.
Once your knot is perfect, proceed with the rappel as you would normally. The only other consideration is where your rope is going to go in the anchors. If your knot becomes stuck between the two anchors, it can be impossible to pull down and you may have to find yourself climbing back up the pitch to retrieve it.
The trick is to either make sure the knot will slide freely between the two anchors, or tie it tight enough that you can put it on one side and not have it pass through. If you take the second option, make sure that when you’re pulling the rope, you remember which side of the anchors you’ve tied the knot, or you might yank too hard and cause the knot to get stuck!
This technique works well if you’ve got two ropes that would independently be capable of supporting a rappel. It’s safe, efficient, and it can save you a ton of time if done correctly. Now, what do you do if you haven’t brought two ropes along?
Tagline Rappels

A tagline rappel is the answer for rappelling down longer pitches if you’ve only got one piece of rope that you trust to rappel off of. To perform a tagline rappel, you still need two pieces of rope: one that is at least 7.7mm in diameter (to rappel from), and a smaller rope that you wouldn’t trust to hold your bodyweight, but will help you to retrieve the rope for the next pitch. The trick is to tie the two ropes together at the top of your rappel to secure them through the rappel anchors, and then lower yourself on the 7.7mm rope. Once you reach the bottom, you pull on the thinner rope to retrieve your line.
This type of rappel has all of the advantages on the method mentioned above, plus it comes with the added bonus of not having to carry as much gear. Ropes are heavy, and hauling two full ropes up a multipitch climb can make your day much harder. Using a tagline method allows you to save a little bit of weight, while still being able to perform extended rappels.
The downside is that this method is probably a little less safe. Like a dual rope rappel, the risk comes from where you attach your rappelling line to your tagline.
Inherently, two ropes that are different sizes are going to be harder to tie together than two knots of the same size. Similarly, rappelling on one rope is statistically going to be less safe than rappelling on two ropes .
This big difference, however, is how much reliance you’re placing on your knot. For the dual rope method, all your knot has to do is hold the two ropes together. When doing a tagline rappel, though, the knot serves a double purpose: it has to hold the two ropes together and not pass through the rappel rings. Remember, the tagline isn’t weighted at all, so your ropes aren’t equalized; if the knot pulls through the rappel rings, there’s nothing left hold you to the wall.
A common way to prevent this is called blocking. A blocking mechanism is one where you tie a carabiner onto the tagline and then clip the rappelling line through that carabiner. This creates a hitched friction system; if your knot pulls through the rappel rings, the blocked carabiner will catch your fall.
It’s important to note that a block system is a backup, not a substitution for tying a good knot. If your knot pulls and the blocking mechanism catches you, you’re still in pretty hot water in terms of your safety. There’s no guarantee that you’ll be able to pull your rope down, which leaves you with two options: climb back uop the pitch using your tagline to belay you, or tie into the anchors and wait for someone to come rescue you. Neither of these are really my idea of fun, so it’s best to just make sure you tie a good knot in the first place.
Once you’re confident in your knot, the setup and execution for the rappel are the exact same they would be for a normal single-strand rappel. The only other essential step is to make sure that, when you go to pull your rope, you’re using the tagline to bring it down, not the rappelling line.
There we go! That’s all the info I have on rappelling with two ropes. I hope it was useful, and as always, stay safe out there!
