

Also known as ‘riding the pig’, rappelling with a haul bag is a must-have skill for any aspiring big wall climber out there. Based on research and experience, I’ve compiled the following guide to make your learning process a little bit easier!
So, how do you rappel with a haul bag? The best way to rappel with a haul bag is to set up what is known as a tandem rappel, where both you and the bag are connected to the same belay device. The basic technique is this: you clip yourself to the belay device as normal, and then attach the bag to the belay device via a sling, so that it hangs below you. Then, you are able to perform the belay with the bag dangling between your legs.
Tandem rappelling with a haul bag is a fairly simple process to set up, and all it requires is that you bring a couple of extra carabiners and a few spare pieces of sling. This method allows you the navigate the belay while controlling the bag at the same time, but it prevents you from having to deal with the discomfort of physically attaching the bag to your harness. There are, however, some important intermediate steps in terms of transferring between anchors and dealing with overhanging terrain that I think is important to go over so you can safely rappel with your haul bag. Keep reading below to learn more!
What is a Haul Bag, and Why Would You Need to Rappel with One?
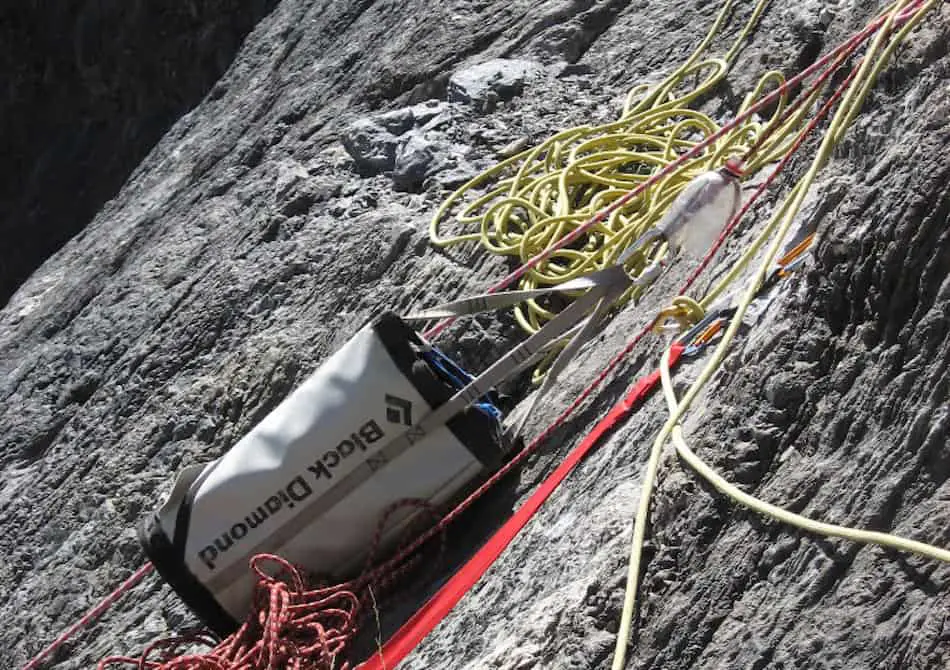
First of all, let’s make sure we’re all on the same page. A haul bag is basically a supped-up duffel bag, usually made out of ripstop fabric, that you use to carry your climbing gear. Haul bags are tough and durable, meant for dragging up walls behind you as you embark on multi-day climbing adventures.
For big wall climbers, such as those in Yosemite Valley, haul bags are essential for moving their food, water, porta-ledges, and miscellaneous equipment up the wall behind them. However, haul bags can also be a massive inconvenience because of their size, weight, and difficulty to navigate with on vertical terrain. On the ascent, haul bags need to be pulled up after you via a pulley system, which is a time consuming and exhausting process.
On the way down, haul bags can either be carried from the summit or rappelled down with you. These rappels can either be performed under safe conditions— such as when you’ve topped out a route and now need to get down so you can have a beer— or more stressful scenarios— such as when a storm rolls in and you need to get down so as not to be struck by lightning.
This is the main point of why you need to rappel with a haul bag: for certain routes where topping out and hiking off isn’t an option, or for scenarios where you need to get down as quickly as possible, you want to make sure you can get down the route with all of your gear still attached. In these scenarios, you might have no choice but to rappel with a haul bag.
Tandem Rappels: The Basics
As I said above, the most common method of rappelling with a haul bag is to set up what is known as a tandem rappel. A tandem rappel is one where you and another object (in this scenario, the haul bag) are both attached to the same rappelling device and will therefore be lowered simultaneously. This is achieved in a few simple steps:
- Attach your rappel device to the rope as you would normally and fix a locking carabiner in place.
- Attach a piece of webbing to your harness and clip another locking carabiner through it.
- Attach the second carabiner to the first carabiner.
- Attach another sling to whatever you’re going to tandem rappel with, and clip a third locking carabiner through this sling.
- Clip this third carabiner to the first carabiner.
- Attach another sling to whatever you’re going to tandem rappel with, and clip a third locking carabiner through this sling.
- Clip this third carabiner to the first carabiner.
Now, you can lower yourself down the rappel with the second object moving at the same speed and attached to the same device. This gives you more control in terms of navigating the object down the rappel, and saves you the discomfort of having to attach the weight to your person specifically. Tandem rappels can be used in a variety of scenarios, but in this article we’re going to focus on just using them for getting your haul bag down.
Tandem Rappelling With Your Haul Bag
So, now that you know what a tandem rappel is, let’s get into the specifics of using it with your haul bag. There are two main scenarios we’re going to focus on: vertical terrain, which I’ll cover here, and overhanging terrain, which I’ll talk about later.
For rappelling in vertical terrain, the main concern to deal with is not mishandling your haul bag so you end up dropping it (or yourself). You also need to pay attention to your anchor points, for a couple of reasons:
- Reason one: Weight. A haul bag packed with ropes, protection, food, and gear can end up weighing in excess of a hundred pounds. This is a hundred more pounds that your anchor system needs to be able to hold without failing. Make sure you have a solid anchoring point, and considering backing up the rappel if you have the option.
- Reason two: Navigation. Rarely do climbing routes go directly up and directly down. There’s usually some elements of later movement involved, where you need to move sideways to find the next rappelling anchor. This is an inconvenience in normal circumstances, but it can be an absolute pain in the ass when you’ve got an 80-pound haul bag swinging around beneath you. There are a couple methods you can use to mitigate this, but I’ll cover them when I move into overhanging terrain below. For now, just know that it’s something to be aware of.
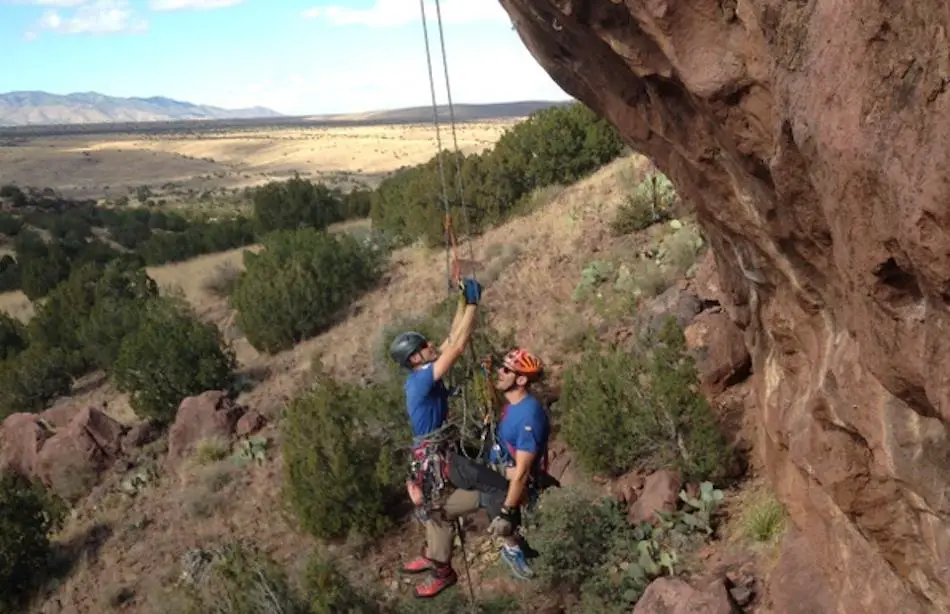
So, you’ve reached the top of your route (or you and your partner have decided to pull the plug). Now you need to get down, and you don’t want to leave hundreds of dollars’ worth of gear behind. It’s time to tandem rappel!
Before we get into the step-by step process, I want to say this: both you and your partner should be experienced climbers and rappellers before you try this technique in the real world. Practice in safe conditions, and only do this once you’re sure that you can perform it safely under a myriad of conditions.
Now that the disclaimer is out of the way, let’s get into the step-by-step process:
- Set up your rappel device as you would normally on the rope, with a carabiner attached. This will become your master carabiner.
- Using a girth hitch, attach two slings to yourself, and two slings to the haul bag. One of these slings is for clipping into the master carabiner, while the other is for securing yourself/your haul bag to your anchor points.
- The sling attaching you to the rappel device should be about two feet in length. The sling attaching the haul bag can vary based on person preference, but there’s a sweet spot: you want it to be long enough that it dangles below you, but short enough that you can control it with your legs. I’ve found that about four feet is the perfect length.
- Attach yourself to the master carabiner via the sling
- Attach your haul bag to the master carabiner via the sling
- Back up the rappel as you would normally, with a prussik knot or other auto locking technique. This is especially important when dealing with the extra weight of a haul bag.
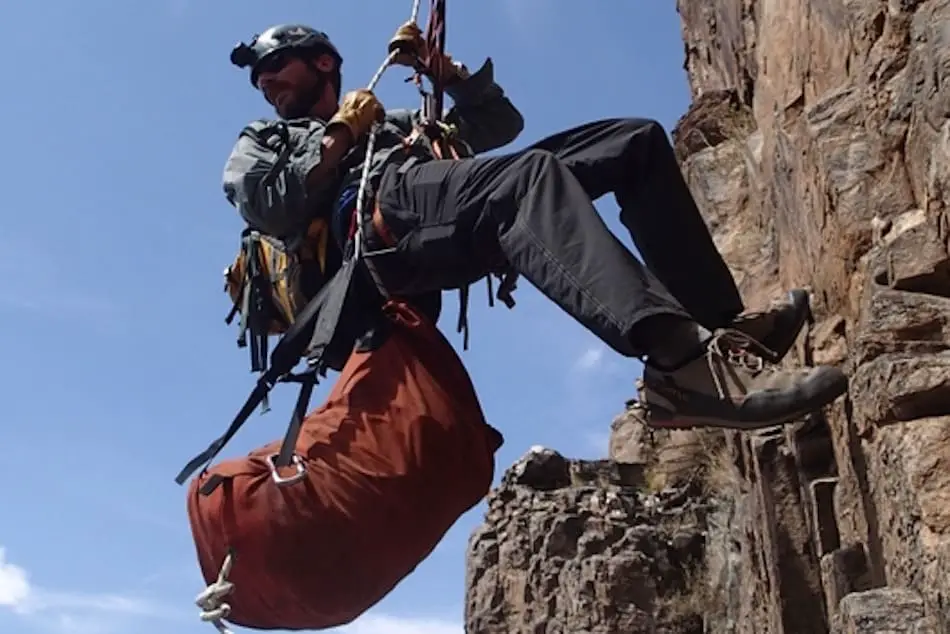
- Unclip the haul bag from the anchor and navigate it so it’s between your legs. You should almost be sitting on it.
- Unclip yourself from the anchor. You are now ‘riding the pig’!
- Lower yourself down the rappel, keeping the speed low and using your legs to navigate yourself and the bag.
- When you reach the second anchor, clip the bag in via it’s second sling, and then clip yourself. Do this BEFORE unclipping from the master carabiner to ensure you don’t drop the bag (or yourself).
- Congratulations! You have now tandem rappelled with a haul bag.
There we go! That’s a basic overview of how to rappel with a haul bag on vertical terrain.
Overhanging or Lateral Terrain

As I said above, the situation can become a little more complex if you’re rappelling on terrain that isn’t quite so simple. Moving laterally to get to an anchor point can be tricky with a haul bag, and the last think you want to do is rappel past your anchor and then have to ascend back up to it. Similarly, overhanging terrain presents a whole new challenge: how do you ‘ride the pig’ if, once you reach the end of the rope, you find yourself dangling in open air and unable to clip your next anchor?
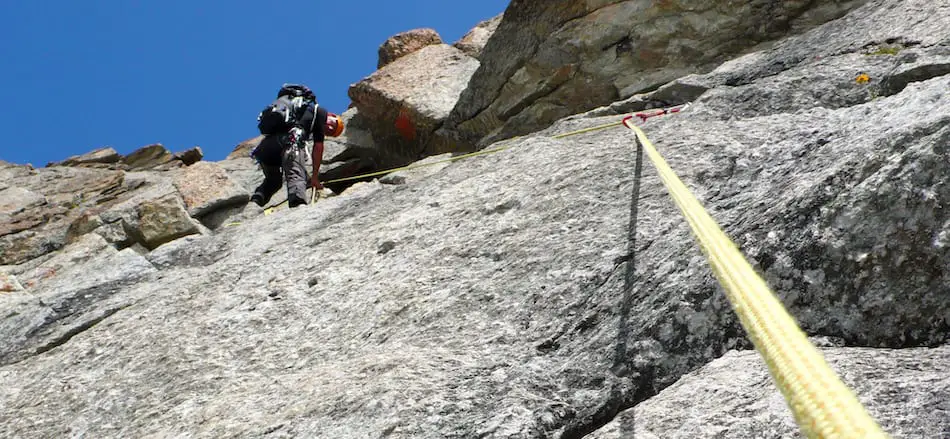
We’re going to solve both of those problems with a technique called down-aiding. Down aiding is a rappelling method where you place gear every few feet on the way down (or every bolt, if you’re on a sport route) and then clip your rope through this aid before continuing to lower. Because the rope is held the to the wall every few feet, you never swing out too far and are therefore able to reach the anchors once you arrive at the bottom of the rappel.
Down aiding is a tricky process that requires you carry a fair amount of gear, and it can be tough to do if you’ve got a haul bag swinging around below you. Because of this, we don’t recommend that you try to down-aid while attached to a tandem rappel.
Instead, have your partner go first and complete the down-aid, clipping gear every few feet so that they can control the direction of the rappel. Then, the person with the haul bag can follow behind, using the rope to stay close to the wall and cleaning the pieces of gear as they go.
An important thing to note here is that once the first climber reached the bottom of the rappel, they need to tie the ropes together to create a closed system. This means that, as the second person follows, they’ll be able to pull on either strand of rope to tighten said closed system, which will pull them closer to the wall.
If the terrain features a lot of lateral movement, down aiding can also be used to pull the rope sideways to reduce the amount of swinging yesterday. If you’re trying to navigate a haul bag down a particularly tricky section where finding the anchors requires a lot of navigation, it might not be a terrible idea to set up a down-aid system to make sure you don’t become stranded.
Just like above, tandem rappelling under this set up is fairly complicated and involves some risk. Make sure that you and your partner practice it safely beforehand and are familiar with each person’s roles. To rappel using this method, follow these steps:
- The first climber rappels the section, using a down-aid method to clip protection as they go.
- At the bottom, the first climber clips into the anchors and ties the two strands of the rappel rope together to create a closed system.
- Using the same tandem rappel technique as described above, the second climber repeats the rappel. Any time they get too far away from the wall, they can simply pull on either strand of rope to bring them closer.
- Make sure the last person down the line cleans the gear as they go.
Tips and Tricks
Now that we know how to rappel, here are some general tips and tricks to make your life easier and safer:
- Dump all water before you start your rappel: This can help you save weight and make it easier to navigate with the bag. It might be smart to keep a litre or so just in case, but for the most part, once you start heading down you can be pretty confident that you won’t need that much water anymore
- Use a static line if possible: Especially if you’re following a down-aid section, static lines make it much easier to control the rappel and stay close to the wall.
- Watch the length of your slings: The length of your slings can have a big impact on the comfort and control you experience during the rappel.
- Attach a daisy chain and ascender to the rope before you begin: This is more of a worst-case scenario type deal. If you find yourself stuck at the end of the rappel with your haul bag already attached, and ascender will be a lifesaver to help you work your rope.
Alternatives
Tandem rappelling isn’t the only way you can bring a haul bag down from a big wall. Here are alternate methods and some scenarios where you should/shouldn’t us them.
Standard Lower
With this method, you rappel a certain length, anchor yourself to the bottom, and clip your belay device in as if you were going to lower a climber. Your partner ties in the haul bag to the other end of the rope, and you lower it just as if you were lowering your partner.
Pros:
- This method is preferable if you don’t have much experience rappelling, or don’t feel comfortable performing a tandem rappel.
Cons:
- You have no control over the bag. This means you can’t prevent it from snagging or snaring on the way down, and you’ll have no ability to move the bag laterally if it’s a challenging rappel.
- This method is far more time consuming. You’ll need to lower yourself on rappel, set up a belay, undo the belay, and wait for your partner to rappel down.
Fireman’s belay
Instead of rappelling with the haul bag, you attach it by itself to the belay device. Then, you work the ropes from the bottom, creating friction when you want the bag to stop and giving slack when you want it to be lowered.
Pros:
- Because you control both ends of rope in this scenario, you have a little more control over where the bag goes in terms of lateral movements.
Cons:
- This method is difficult to set up
- Controlling a heavy bag through a fireman’s belay can be tiring and dangerous
Direct Tandem Rappel
This is where you clip the bag directly to your harness, instead of attaching it via a separate sling to the same belay device. All of the other steps would remain the same.
Pros:
- There’s really no advantage to doing this. I suppose it could be a last-case scenario if you don’t have enough gear to clip the bag individually to the rappel device, although I’m not sure what you would have had to do to land yourself in that scenario
Cons:
- This will be uncomfortable. It will be really, really uncomfortable.
Conclusion
So there we go! That’s my how-to guide on getting your haul bag down a rappel while maximizing safety and comfort. Leave a comment if you have any questions or suggestions for other guides I can do. Thanks for reading!