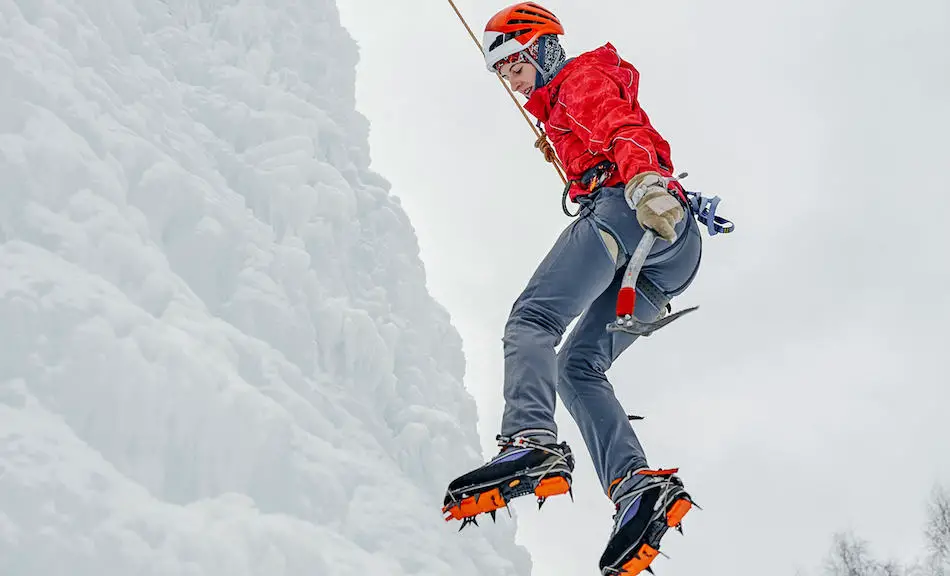
When ice climbing, it’s important that your boots fit properly to save you from dealing with a day of aching feet. I’ve created the following guide to help with this process.
So, how do you size your ice climbing boots? To find the right ice climbing boot, you should typically add half to a full size to your street shoe size. This is so the boot has ample room inside to prevent your toes from banging against the front when you kick. However, you also need to avoid sizing the boot too large.
There’s no hard-and-fast rule as to how to size your ice climbing boots. La Sportiva recommends adding half a European size to your street shoe size, while Scarpa recommends going up three-quarters of an American size. These guidelines will also change based on the shape of your foot, what socks you’ll be wearing, and the specific boot model you’re looking for. In general, you want a boot that cups your heel comfortably without pressing your toes against the front when you kick.
In the following guide I talk about how to size your boots, some tests you can do to perform to see if your boot fits well, and then some tips for how to find the right pair of ice climbing boots.
Sizing Ice Climbing Boots
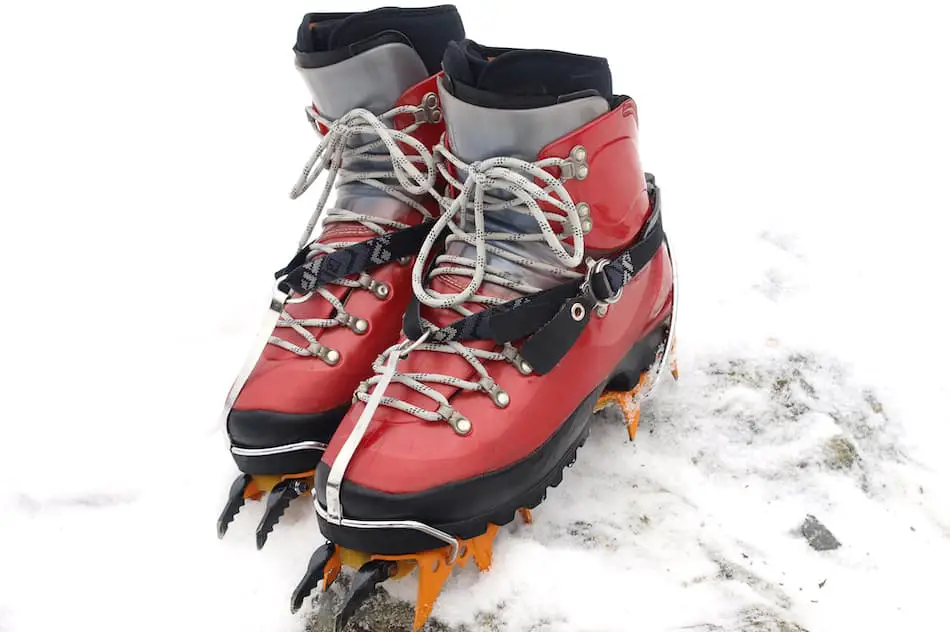
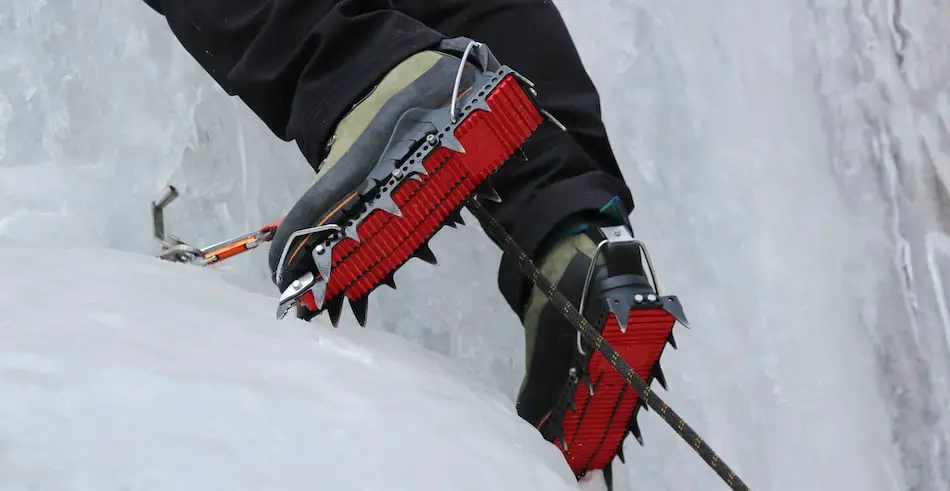
When ice climbing, you predominantly engage in a motion known as ‘front-pointing’, where you repeatedly kick against the ice with your foot to drive the crampon in and give you purchase. If your boot is sized improperly, your toes will jam against it when front-pointing, leading to pain and discomfort that will make it difficult to enjoy the experience. Finding the right-sized ice climbing boot is an important step in ensuring your comfort and performance.
What a Good Fit Feels Like
One of the tricky things about sizing ice climbing boots is that you don’t necessarily want them to fit the same way a sneaker or running shoe will be. The boots should be decently tense on the heel (to hold it in place), moderately tense on the forefoot (to stop any side-to-side motion) and loose on the toes (so that you don’t keep banging them against the boot).
Finding this trifecta of tight-yet-roomy can be tricky, and it might require a good deal of shopping around. It’s important to do, however, because settling for a less-than-ideal boot can negatively impact your safety and performance while ice climbing.
Sizing Too Small
As I’ve already mentioned above, the main drawback of sizing your boots too small is that, when you kick, your toes are going to be driven forwards and into the front of the boot. This can lead to bruising, damaged nails, and really sore feet.
The problems go farther than just comfort, though. If your toes hurt, you’re not going to want to properly kick to the degree you need to drive your crampons into the ice. This could lead to a less solid foot hold than results in a fall. Because of the dangers of falling while ice climbing, you need to make sure that your boots aren’t impeding your form.
Sizing Too Big
Sizing your ice boots too large might not be as uncomfortable as under sizing, but it can be just as bad for your performance. If you size too large, you heel isn’t going to stay in place when you try to stand up on your crampons. This will make it hard for you to get a solid foothold.
It’s natural to want to oversize to protect your toes, but this can actually have the opposite effect. If your boots are way too big, there’s no tension in the heel or forefoot holding your feet in place; as soon as you kick, they’re going to slide all the way forwards and bang against the boot.
Testing Your Fit
It’s easy to write down what you want your sizing boots to feel like: tight enough that your foot doesn’t move, but loose enough that your toes don’t get pinched. Actually finding a boot that fits like this, however, can be much more difficult. This next section contains a few tests you can use to see if the boot is right for you or not.
Before testing the sizing of the boot, you first need to ensure that it’s properly fitted to your foot. There are a few ways to do this:
- Wear the same socks that you’ll wear ice climbing: This will ensure consistent sizing.
- Stand up when you lace the boot: This allows the foot to settle into the boot when it’s tightened.
- Put in any custom insoles you have: Similar to the socks point, this will make sure that the boots are in the exact condition they’ll be when you wear them ice climbing.
- Time your visit: You should avoid boot-shopping first thing in the morning, and you preferably want to walk around a little beforehand. Your feet are at their smallest in the morning, which will make sizing difficult. Walking can help them swell to a more realistic size.
Right! Now we know how to properly prep the boot, let’s talk about a few things you can do to test if the boot is right for you.
Kicking
Kicking is the most common—and more effective—way to test if your boot is right for you. Put it on, lace it up, and then find a sturdy wall or floor space where you can give it a good few whacks.
For this test, you need to really be kicking; tapping your foot lightly against the wall isn’t going to work. Remember, you’re trying to mimic the experience of bashing your feet against a sheet of ice until your crampons stick. Really go at it.
If kicking hurts your toes, it might be time to either size up or try a different model. Even if they only bump against the boot, this could be a sign that they’re not right for you. Remember, when ice climbing, you’re going to be repeating the kicking motion hundreds of times. A minor pinching in the store can turn into a major pain once you’ve been wearing them for six hours.
Stand on a Ledge
Once you’ve checked that the toes are good, it’s time to see how the boots feel against your heel. Find a bench or a set of stairs where you can stand with your toes elevated and your heels hanging off in thin air (you’re trying to mimic the feeling of standing on crampons).
Your heel should stay tucked snugly into the boot, even when you drop your weight down. Do a couple of calf raises to get the full range of motion and see how it performs at different angles. Any sign of the heel moving around could mean that the boots are too loose.
Walk Up and Down a Slope
Next, you can move to some more general tests of how well the boots fit on your feet. Walking up and down a slope (many outdoor outlets will provide ramps) is a time-tested method for fitting hiking boots, and it has its place in the ice climbing world as well.
You want to be on the lookout for similar feelings to those above. On the way up, you want to make sure that your heel doesn’t lift out of the boot. On the way down, you want to ensure that the gravity of your descent won’t jam your toes into the toe box.
This test is probably less important than the two described above, but it still has its merits if you’re trying to see how well a boot fits.
Spend the Whole Day in Them
Front-pointing isn’t the only thing you need to do in your boots. On long ice climbing expeditions, you’ll have them strapped to your feet for eight to twelve hours, and you need to make sure that they’re comfortable when worn for this long.
Testing for such a degree of comfort can be difficult in-store. You never know what tiny friction point will turn into a blister on hour seven unless you actually wear the boots for that long, so the only way to do this is to take them home and actually do it.
Now, obviously, stores aren’t going to let you just walk out with a pair of boots and come back the next day. What I would recommend doing is find a pair of boots that you’re reasonably comfortable with— eg, boots that passed the three tests listed above —and then purchase them. Once you get home, leave the tags on wear them around for an entire day. If they feel fine, you can go ahead and consider them yours. If you discover some niggling discomfort, however, you may want to return them and look for another pair.
Rent and go Ice Climbing
This is a more extreme version of the test performed above. If you think about it, there’s really no way to be sure that a boot is right for ice climbing until you actually take it ice climbing. Depending on the stores return policy, you might also be able to purchase the boots, but this will vary from store to store.
This is going to give you the best idea of how the boots will perform in a real-world setting. Considering how expensive ice climbing boots are, it can be a good idea to try them out in the wild before you drop $1000 on some footwear.
Other Considerations
We’ve now talked about how you want your boots to fit and some tests that you can do to see if they’re the right fit or not. Just because your boots tick all the boxes, though, don’t necessarily mean they’re going to be the perfect pair in every scenario.
Mountaineering vs Ice Climbing
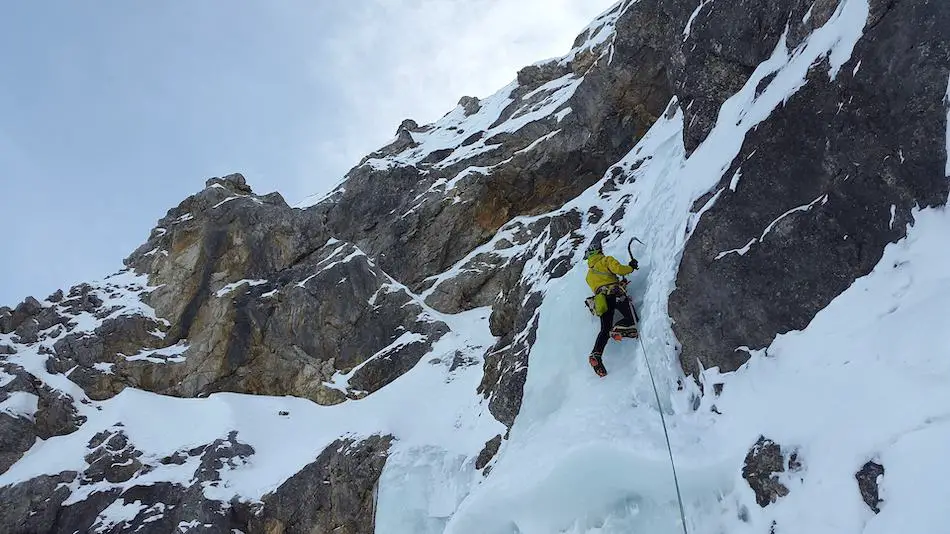
Finding a pair of boots for mountaineering trips vs. pure ice climbing expeditions can be a very different shopping experience. In ice climbing, the most important thing is to ensure that your foot doesn’t bang against the front of the boot, because of how often you’re going to need to front point.
Mountaineering, however, is a whole different ballgame, and you can go entire days without needing to kick-step. If this is the case, you might want to place more weight on other factors.
Because of this, be cautious of taking the advice from someone who doesn’t use their boots for purely ice-climbing based activities. Their pair of boots might be awesome for slogging up couloirs and kick-stepping through avalanche terrain, but they might not fit the best for ice climbing.
Foot Change Throughout the Day
As I said above, your foot changes throughout the day. More specifically, they’re going to grow and expand the more you walk on them, as blood and fluid pool as a result of you standing for multiple hours on end.
This can make accurately sizing your boots difficult. You always want to make sure your feet are at their ‘true size’— the size they’ve been after you’ve been standing on them for a while — before you go and try on boots.
More than this, however, you also want to take into account your foot change when you’re actually wearing the boot. If you slip them on first thing in the morning, they may feel larger than expected as a result of your foot not yet swelling up. For some people this can be a negligible difference, while for others it can be quite noticeable.
For those in the latter group, it might be a good idea to try and get your foot to swell before you engage in any serious ice-climbing activities. Doing so might including walking around to encourage swelling, doing laps on easy terrain, or wearing a spare pair of socks first thing in the morning (only in extreme cases).
Different Temperatures
Another tricky thing to manage is temperature change. Climbing with numb toes is shitty, and it can have a negative impact on your performance. Because of that, it’s important that your feet stay warm (or at least, not frozen) throughout the day.
Doing so, however, can complicate the fit of your boot. Wearing an extra layer of socks on cold days may oversize your feet and lead to banging of your toes, while adding something like a footwarmer could likewise cram them in.
The best solution is to invest in a double-layer pair of boots. These are mountaineering boots that have a removable insulating liner than can be placed on when temperatures dropped or removed when things get warm. This allows you to control the temperature of your boot without needing the change the size of your foot (and risk messing up your fit).
Can You Ice Climb in Regular Boots?
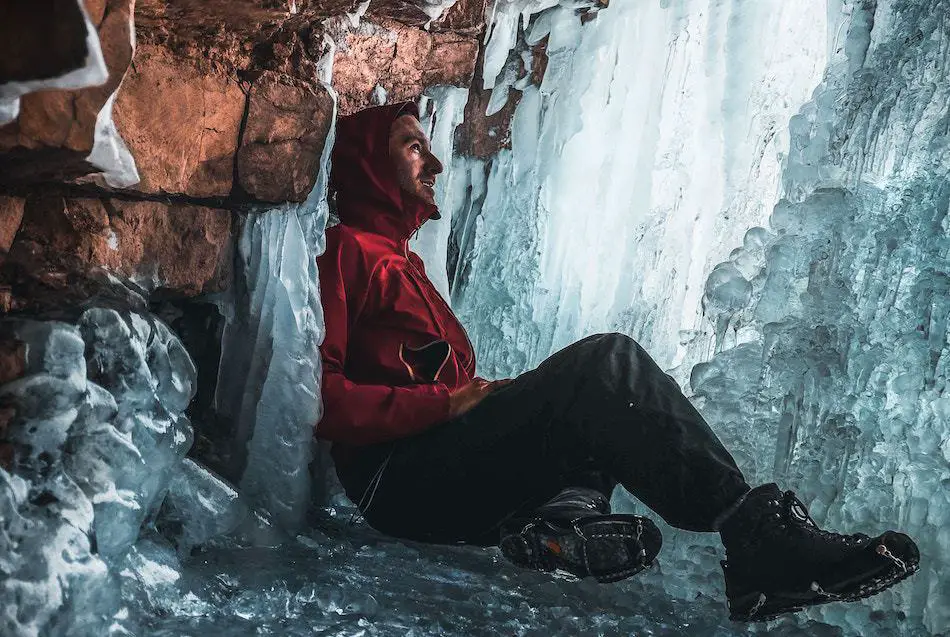
A common question among beginners is whether or not ice climbing can be performed in regular winter boots, or even a solid pair of hiking boots. Unfortunately, specific mountaineering boots are needed to ice climb.
As someone who was once a complete beginner, I understand the frustration. I already have a good, comfortable pair of boots at home that don’t cram my toes while also managing to keep my heel snug. It’s natural to simply want to wear these when you go.
Ice climbing, however, requires the use of crampons, which are sharp steel spikes that clip on the bottom of your boot and allow you to kick footholds in ice. It’s not enough for a pair of crampons to fit over your boots, as yak-tracks might. They need to be snug and immobile.
To achieve this, equipment companies have specifically designed mountaineering boots to partner with the crampons and ensure a seamless connection. Mountaineering boots have rubber grooves in the front and back where the crampons slide into so that they remain immobile. If your boots don’t have this feature, they won’t be able to fit a pair of crampons and you won’t be able to ice climb in them.
Conclusion
Sizing ice climbing boots is tricky, and it can take a lot of effort before you find a pair that’s right for you. Like I mentioned above, there’s a lot of factors that have to go in to finding a good pair of ice climbing boots.
The fact of the matter is that everyone has different feet, and there’s a limit to the number of different models that can be produced by equipment companies. Because of this, it’s very possible that you might never find the perfect pair of ice climbing boots. You might have a little bit of toe jam at the end of the day, or a tiny bit of heel lift when you first step into them.
Do your best to avoid these shortfalls, but don’t drive yourself crazy looking for the perfect pair of boots. Shop around, do your research, and try to find something that fits your foot, but don’t let a tiny bit of movement prevent you from going ice climbing.
So, there we go! That’s my complete guide on how to size ice climbing boots. I hope you enjoyed the read, and remember to stay safe out there!
